iPhone Holster
Posted by Craftip (Nov 21, 2013)
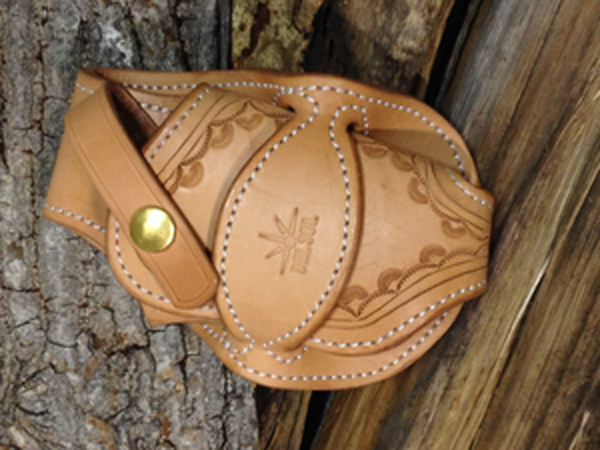
iPhone Holster made of Hermann Oak tooling leather.
This post is credited to Leather Craft DELSOL.
See the original post in Japanese site.
-
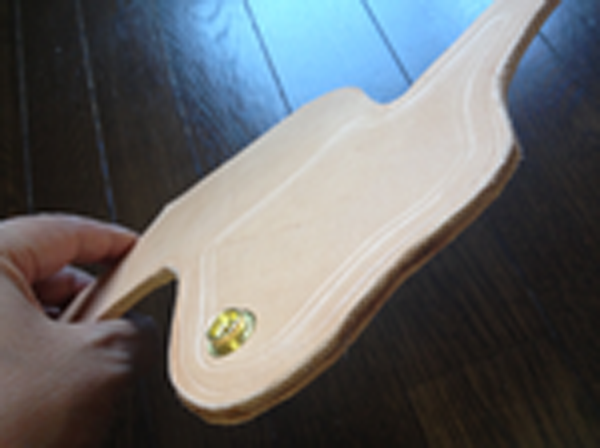
1.
-

Prepare 2 pieces of leather part. Attach a snap fastener and glue the flesh sides together. Then cut it into the shape you want to have.
-
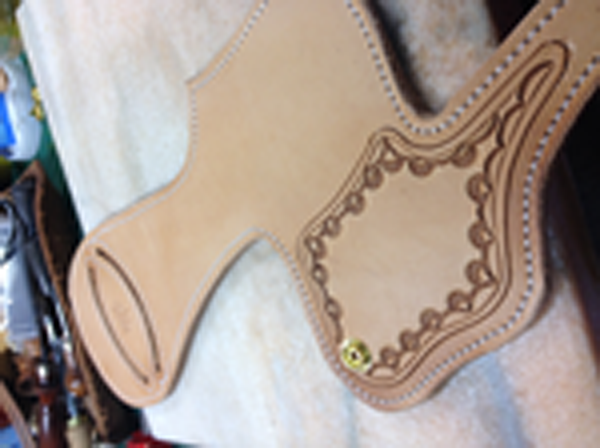
2.
-
Create the grooves for stamping.
-
3.
-
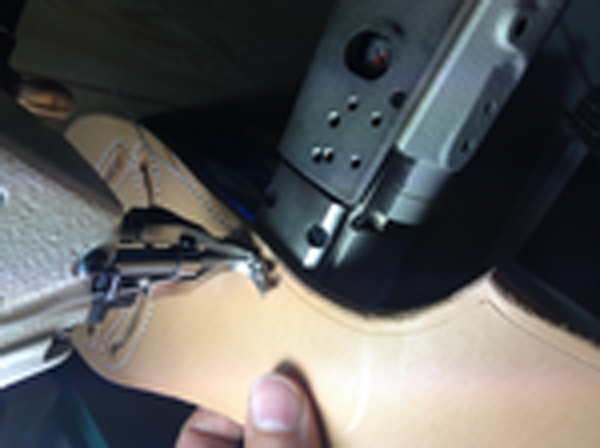
Sew it either by hand or a sewing machine.
-
4.
-
Get the leather wet and do stamping and carving.
-
5.
-

Stamp the logo.
At this time, punch a rivet hole too.
-
6.
-
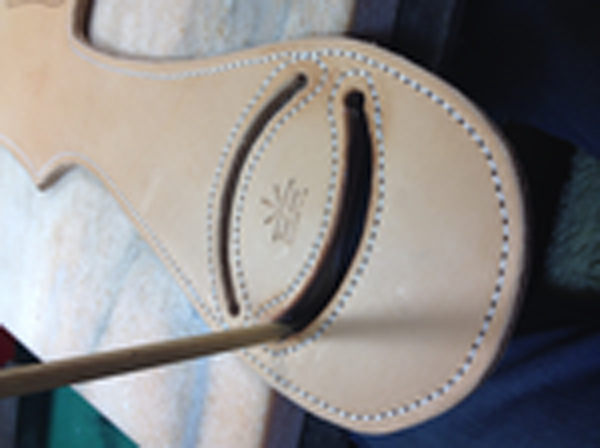
Burnish the edge. I used a banboo chopstick for working on the details.
-
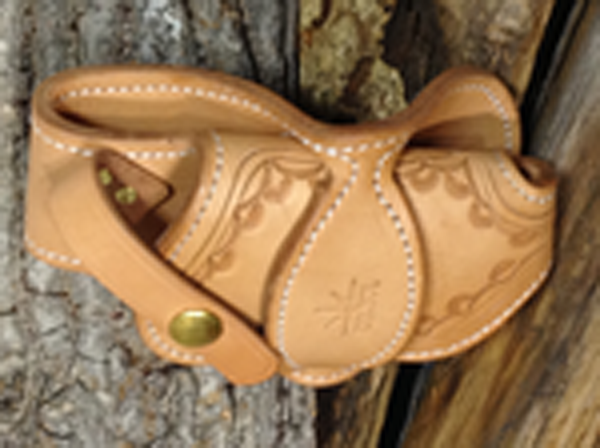
7.
-
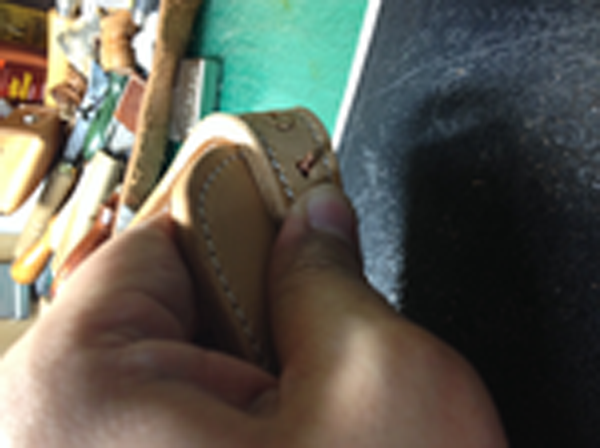
Bend the bottom and fix it with a rivet.
-
8.
-
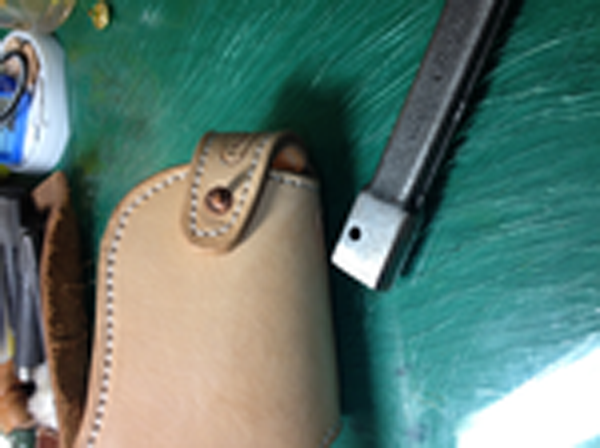
Like this.
-
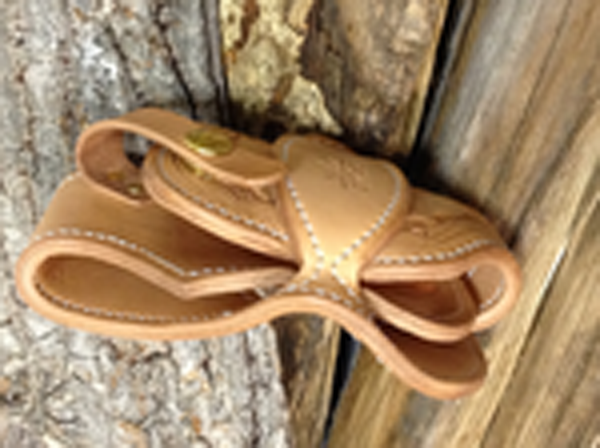
9.
-
Before making it to the holster shape, you need to soak it in water to a large extent.
When it gets soft, put it through the slits.
Then, we're going to let it dry, but if you leave it that way, the case would become too small to put iPhone in.
So I recommend you to put a plastic wrapped iPhone in it until it gets dried.
-
10.
-
If no rush, it's better to let it dry naturally but I used a hair drier.
After it gets dried, rivet the flap to the body.
The case shrinks and gets tight after getting well dried. But it becomes right size after you use it for days.
-
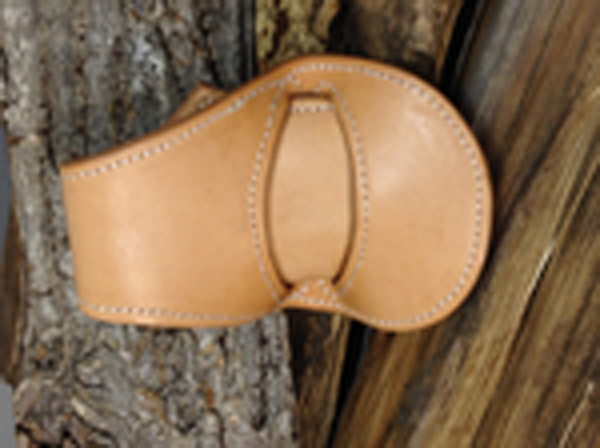
11.
-
Side
-
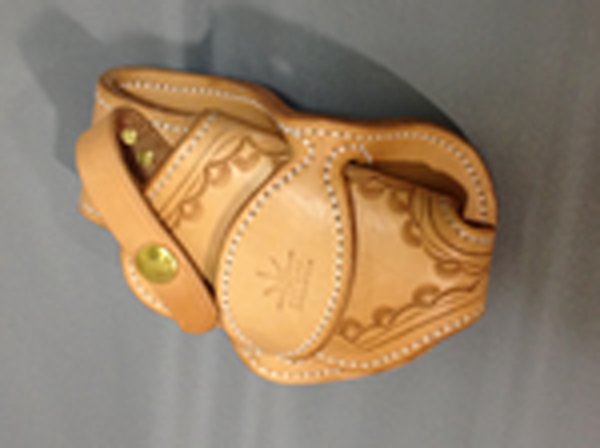
12.
-
Rear
-
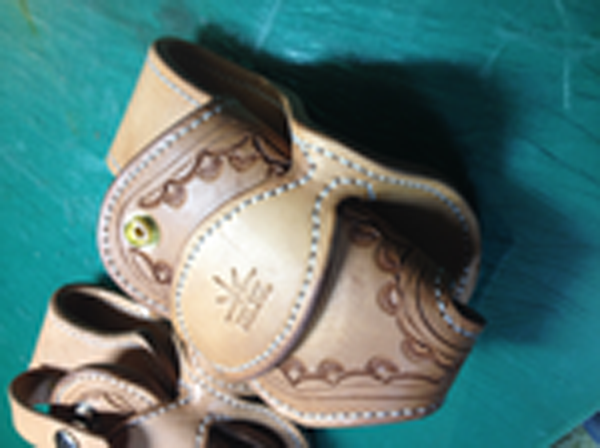
13.
-
Finished.
-
14.
-
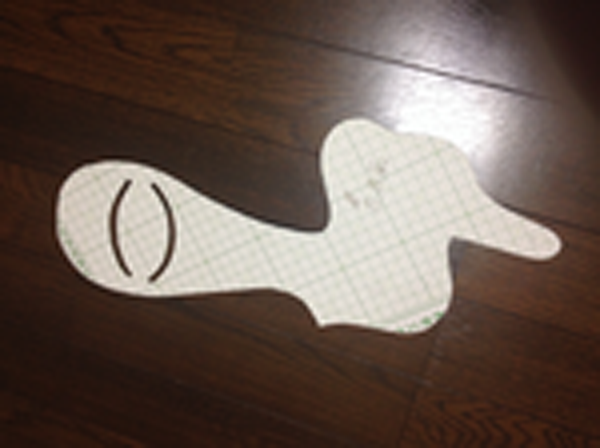
Pattern.
Sign in to post a comment!


Show more