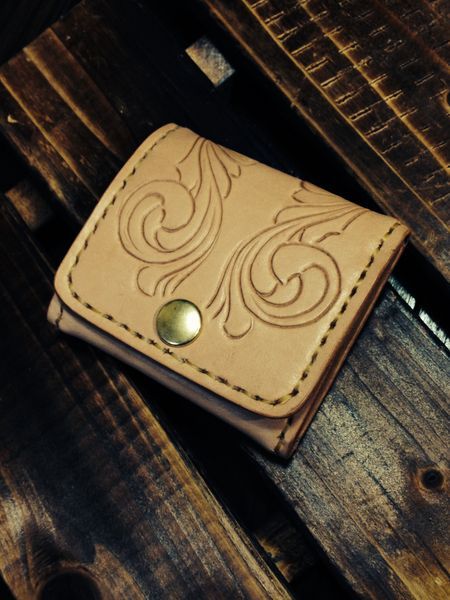
Coin Purse
Posted by Craftip (Mar 13, 2014)
I combined a bone hook with a braided cord with four three-mm-width tanned leather laces.
For the hooking part, I made the base also using tanned leather and arranged a small pattern on it.
This post is credited to Leather Craft DELSOL.
See the original post in Japanese site.
-
1.
-
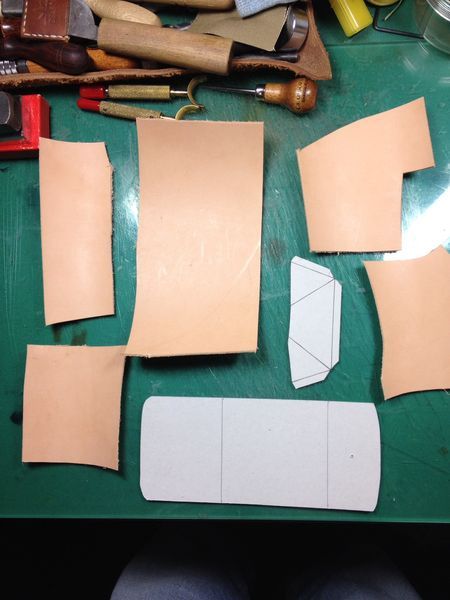
This time, I made a coin purse.
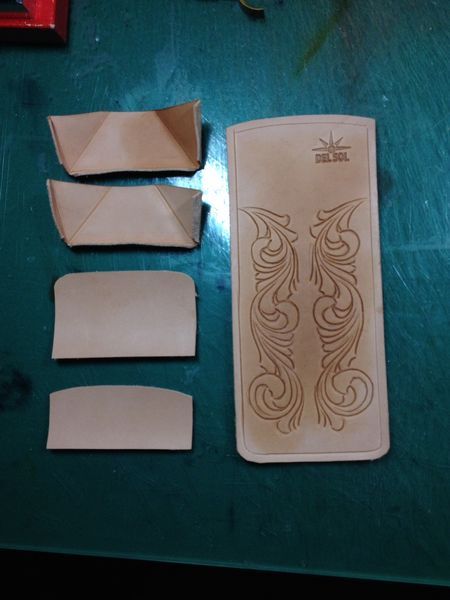
First prepare the patterns and leather.
-
2.
-
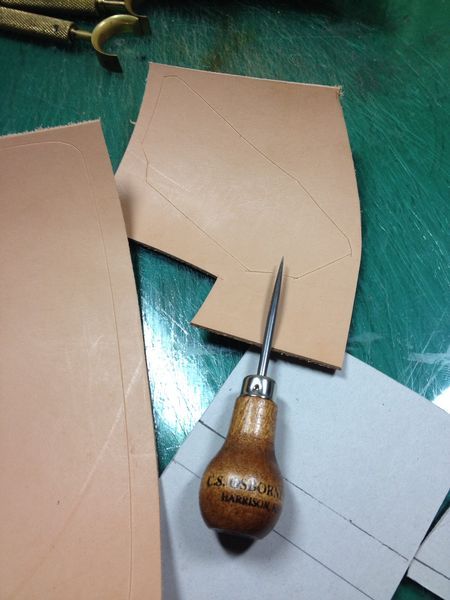
Trace the pattern on the leather. Often marking pens are used for tracing, but I used an AWL, which is like an eyeleteer. This is more useful for making a fine line.
-
3.
-
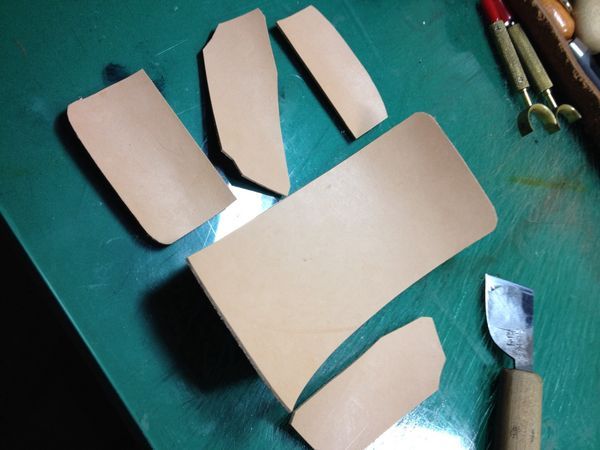
I cut off all the parts.
-
4.
-
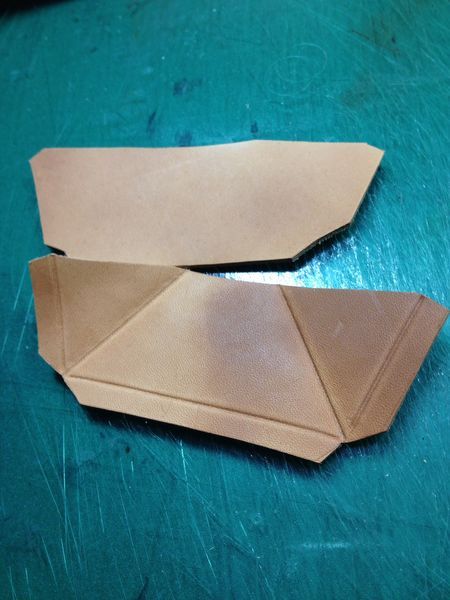
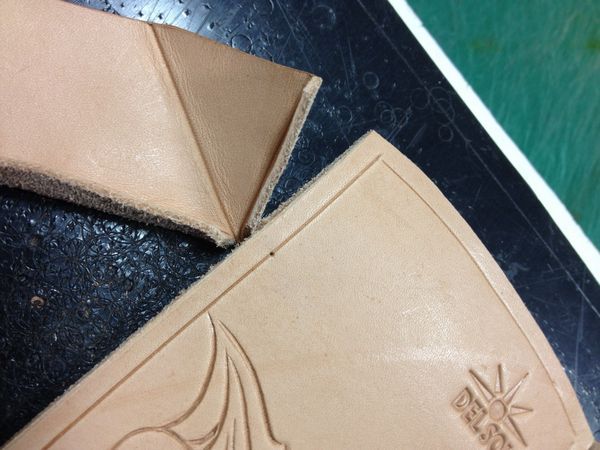
I'm treating the side parts. First moisten the leather and draw a line with a stylus or a spatula. This time don't draw lightly, but rather draw firmly, and make all lines valley folds.
-
5.
-
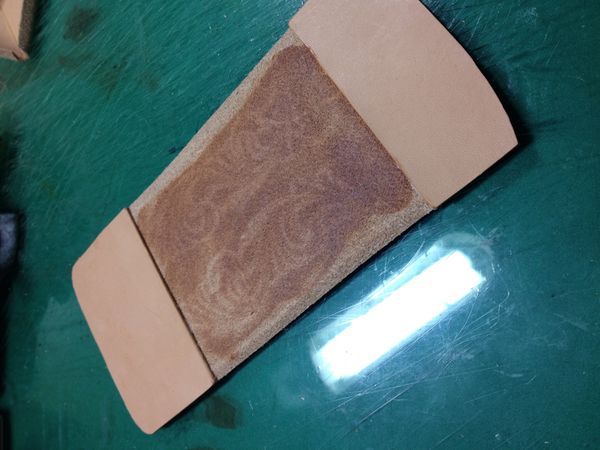
Polish all the parts that you may not be able to polish later.
-
6.
-
Here they are. I made some patterns by carving, but spots may be nice decorations, too.
-
7.
-
Glue the leather on both ends of the backside of the main part. That will strengthen it. I applied gum tragacanth where you can see.
-
8.
-

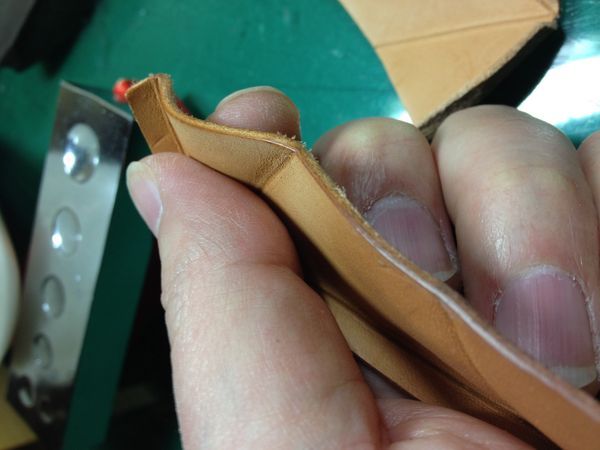
You should deal with the edges since you cannot do it easily later.
-
9.
-
Adjust the sewing margin of the side to the main part, and make a marking on the surface. Do the same to both sides.
There are three places where you need to join the main part and the sides. Make a marking on all of those places.
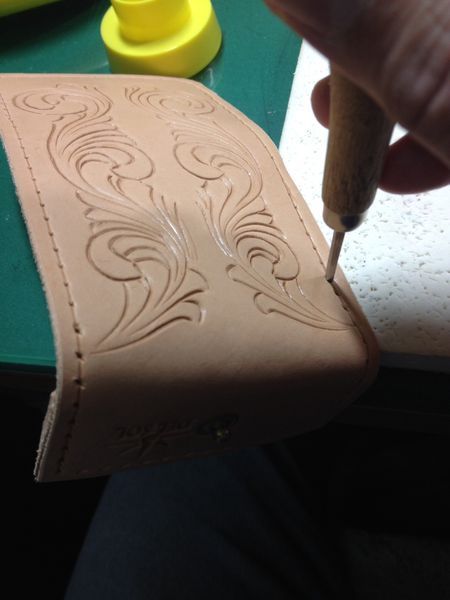
Use a diamond awl to decide the right place to make holes, but most of the distances between the holes will probably be different. Deciding the places from the both sides with the diamond awl, use an eyeleteer to adjust if the holes don't match.
-
10.
-
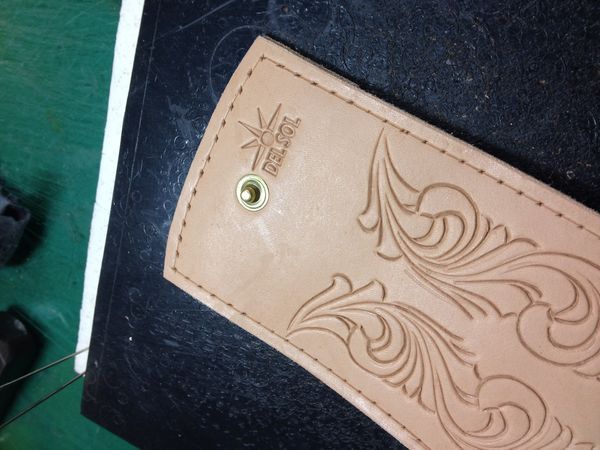
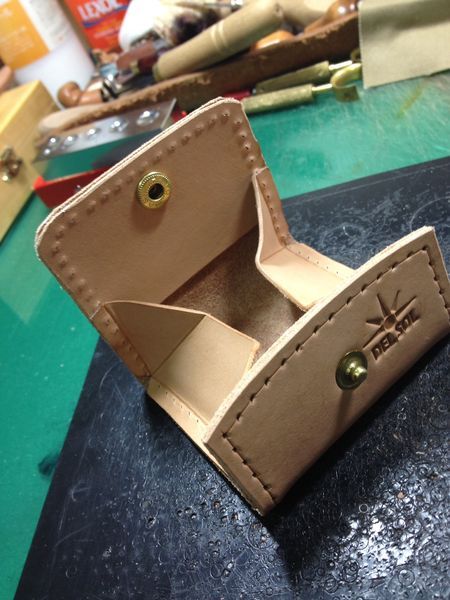
Put on the male half of the snap fastener.
-
11.
-
Attach the both sides and make a hole one by one where you decided by a diamond awl.
-
12.
-
In the same way, attach the bottom parts and make holes with the diamond awl.
-
13.
-
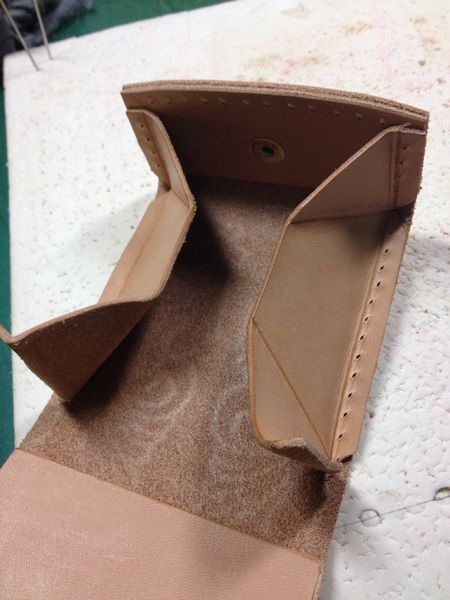
It now looks like this. Do the same to the rest of it. Since this is becoming three dimensional, it may be easier to use a corner of the desk or something like that for making holes.
-
14.
-

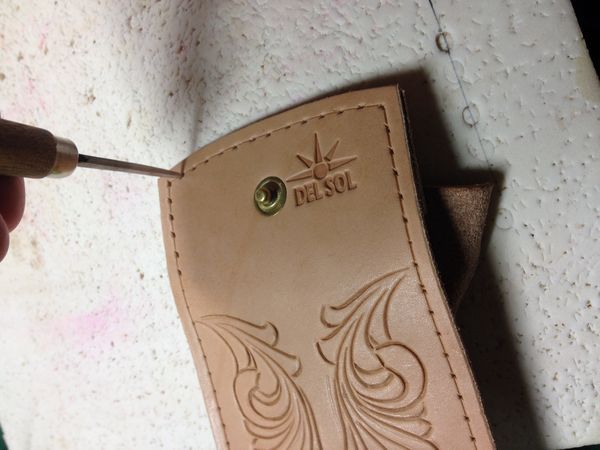
Put on the female half of the snap fastener. Close the lid and push the male half to the other side to make a trace. Use an eyelet punch to make a hole and attach the female half.
-
15.
-
Here it is.
-
16.
-
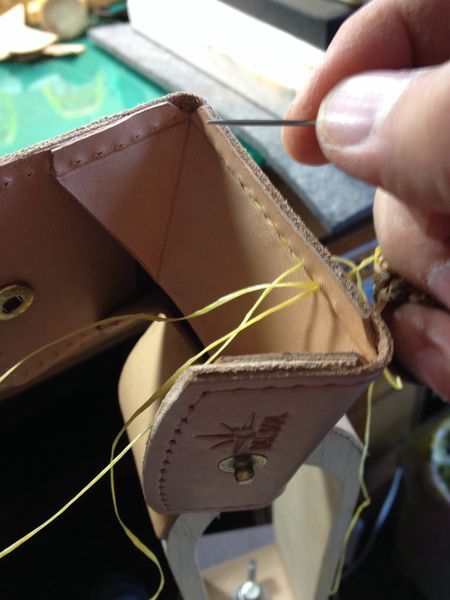
Now you can do the stitching. I used sinew thread. Because this is so small, I tore the thread into thinner ones and used it. It's not easy to hold it since it is a boxed shape. I somehow managed it.
-
17.
-
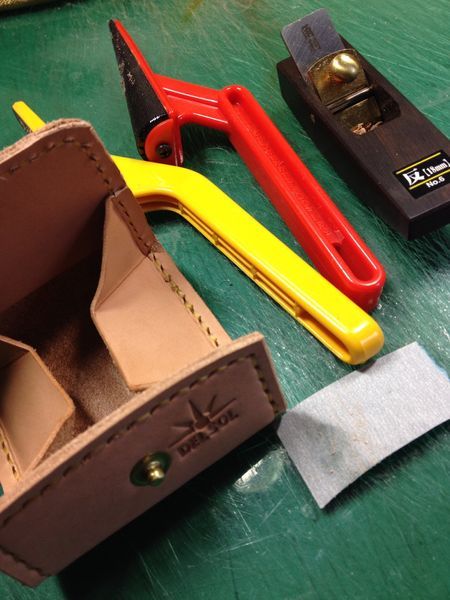
Finally you can polish the edges. I used a smoothing plane, a dresser, and a file. This is important pre-treatment
-
18.
-
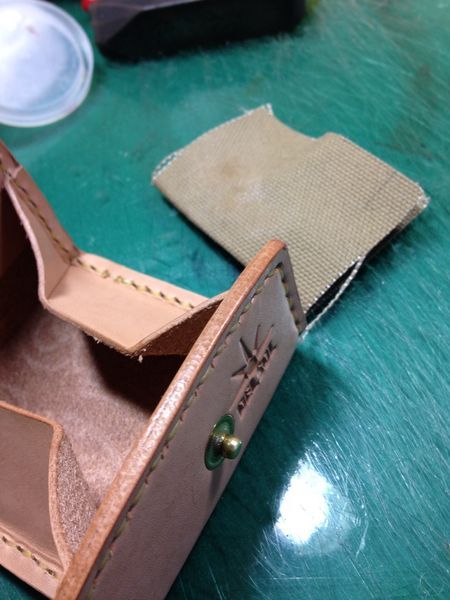
Polish the edges with edge coat such as gum tragacanth. For polishing, I used canvas. I used to use a loofah, but canvas also works very nicely.
-
19.
-
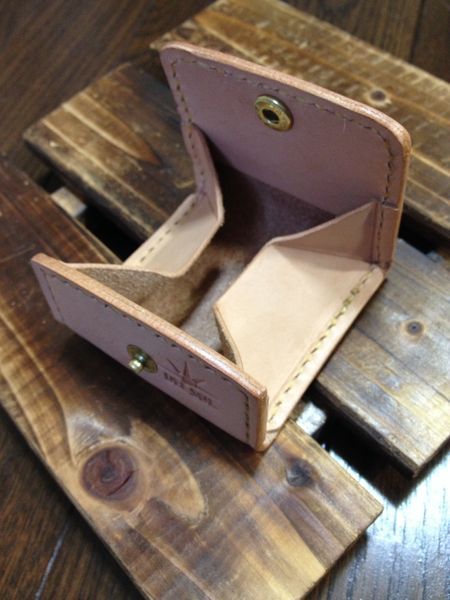
Now it's done.
Sign in to post a comment!


Show more