How to install copper rivets
Posted by LeatherCraftTools.com (Mar 13, 2019)
As this copper rivet has a solid shaft without hollow space, it is very tough and resistant to corrosion.
Put a burr washer on the shaft, and swage with the dedicated installation tool.
-
1.
-
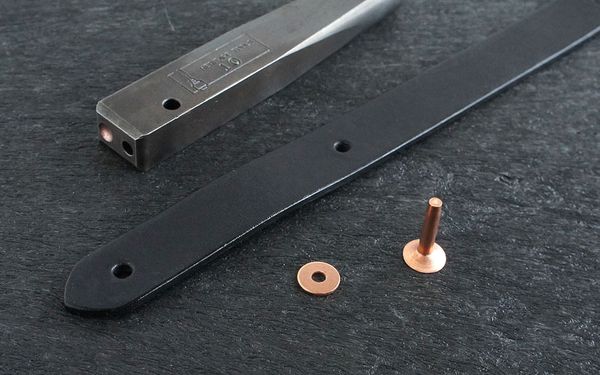
Things to prepare
・Copper Rivets & Burr Washers
・Copper Rivet Setter
・Wooden Mallet
-
2.
-
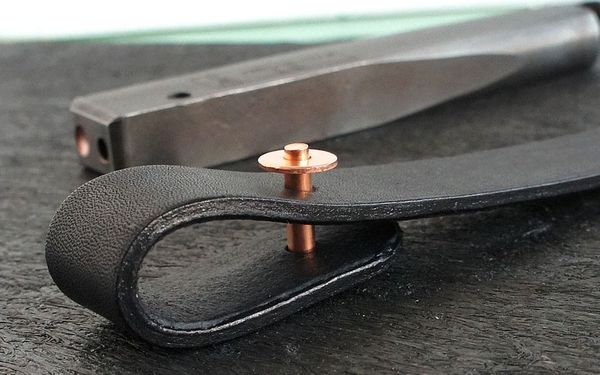
Make a hole in the leather, insert a Copper Rivets, and cover the tip with a washer.
-
3.
-
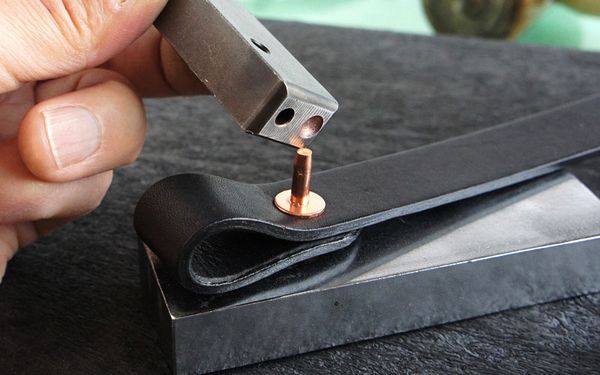
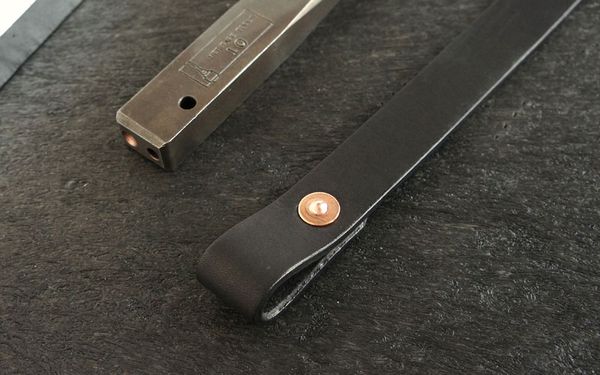
Insert the one with the deep hole at the tip of the special installation tool into the rivet.
-
4.
-
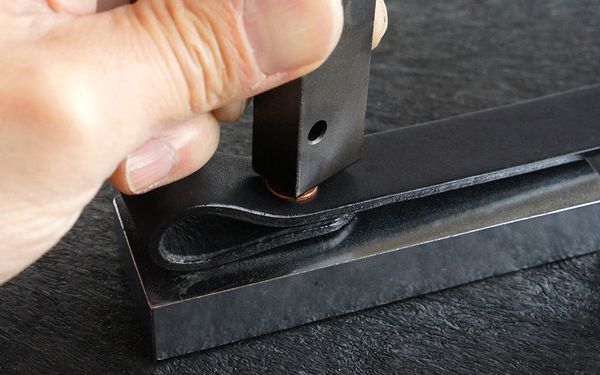
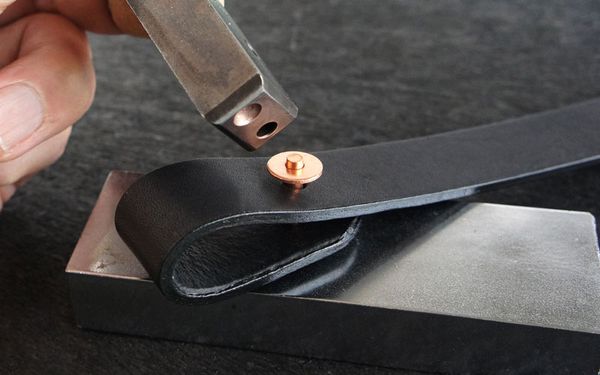
Drive a washer completely into the leather with a mallet, etc., using a special installation tool.
-
5.
-
-
6.
-

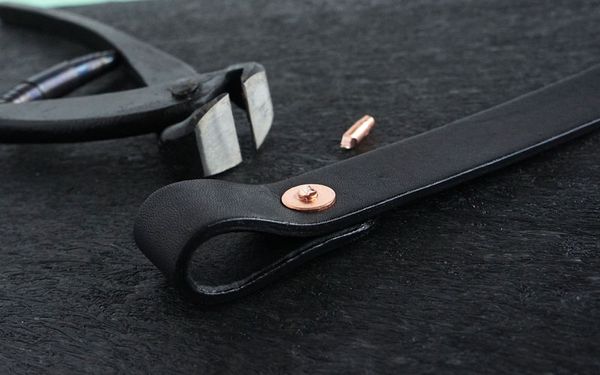
Cut off at the position where the rivet remains 1 to 2 mm with a End Cutting Nipper, etc.
-
7.
-
-
8.
-
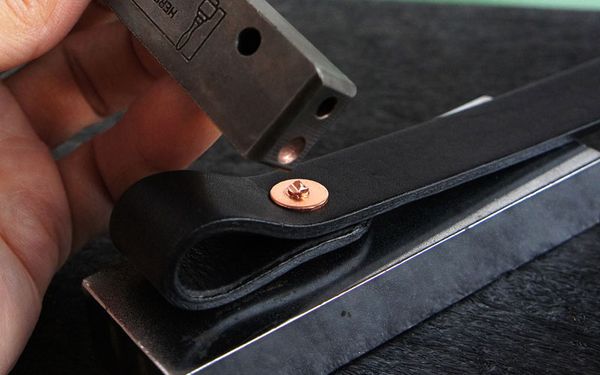
Using the indent at the tip of the special installation tool, crush the cut surface.
-
9.
-

-
10.
-
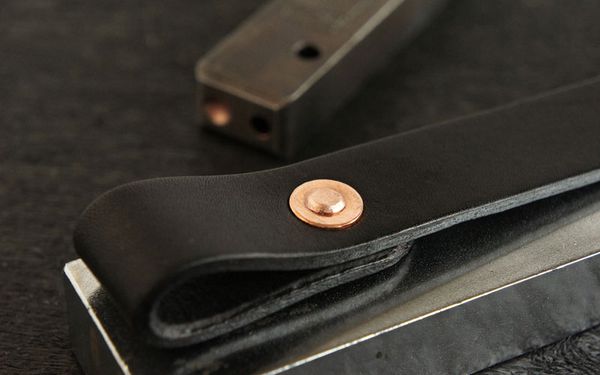
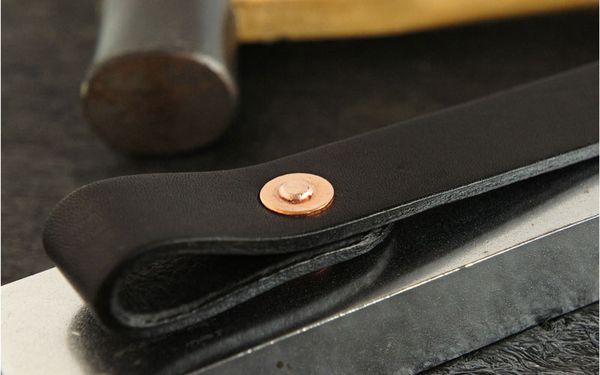
When the cut surface becomes a beautiful dome shape with no hook and catch, it is completed.
-
11.
-
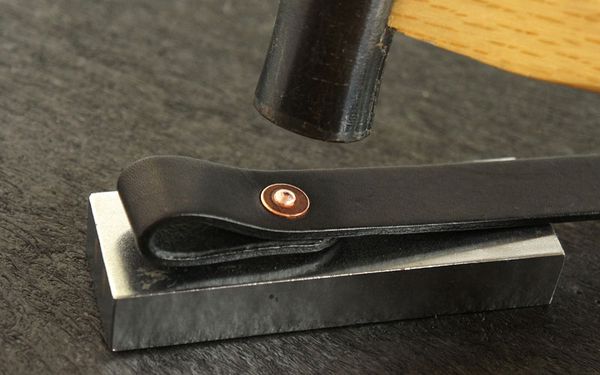
If you want to reduce bulging more, use a metallic hammer to crush the tip further.
-
12.
-
-
13.
-
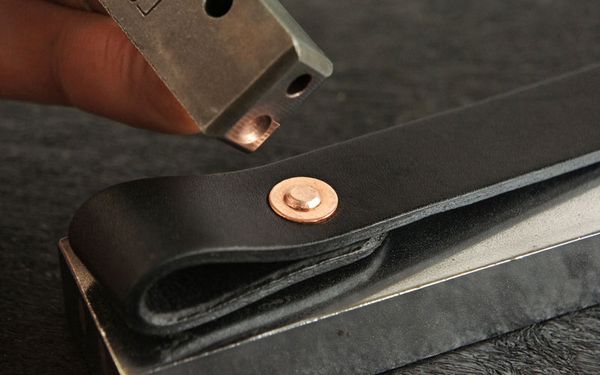
Use the dent at the tip of the special installation tool to shape the cut surface.
-
14.
-

It is finished when splinters and scratches are gone and it feels smooth to the touch.
-
15.
-
As copper fragments may be scattered during work, please be careful not to smirch the material.
Sign in to post a comment!


Show more