MultipleLeather Bracelet
Posted by LeatherCraftTools.com (Aug 9, 2019)
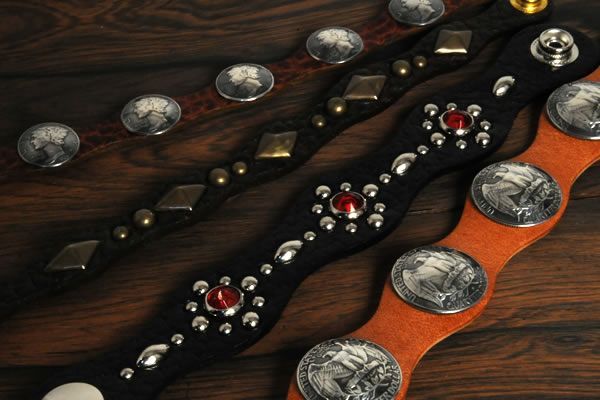
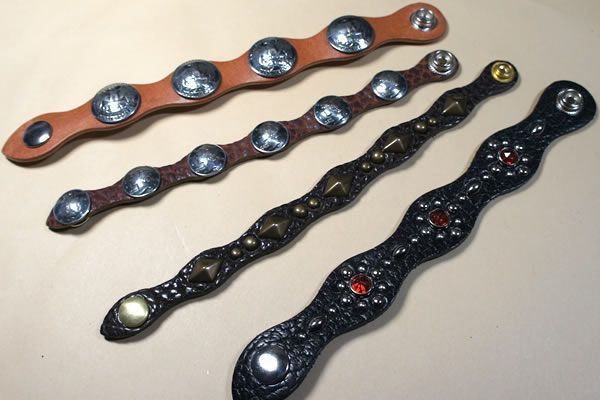
Silhouette of corrugated wave is one of the features of this leather bracelet. If you put some conchos taking advantage of its outline bulge, you can make a concho bracelet which gives you profound feelings.
-
1.
-
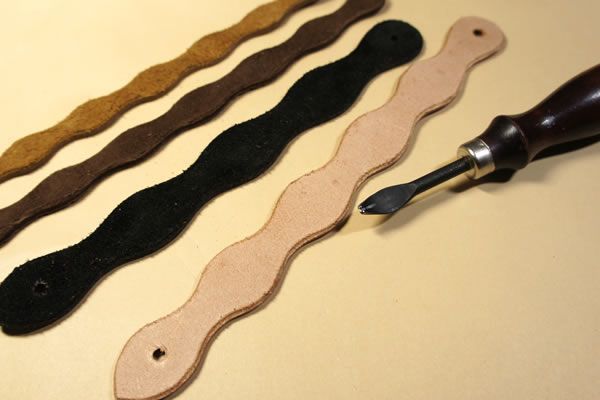
Prepare the leather materials. I use a kit of ready-made products, "Multiple Leather Bracelet Kit".
-
2.
-
Tool the edge with a beveler. Since the thickness of this leather is 3.0mm, I used a beveler of 1.2mm.
-
3.
-
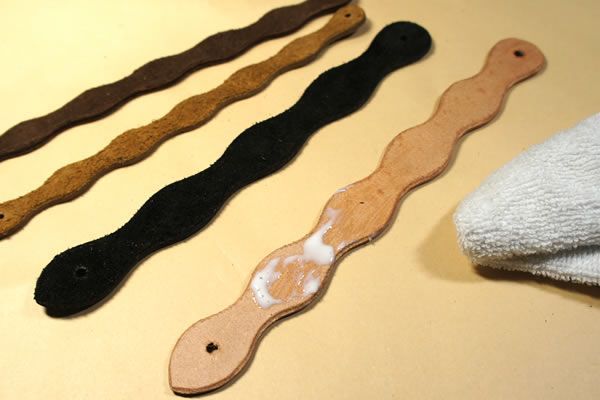
Finish the flesh side and edge with gum tragacanth. Especially if you pollish the corners of the flesh side and edge by pressing down on them, you can finish them nicely. If gum tragacanth were dropped on the grain side, it would become a stain. So keep a wet towel, etc. at hand and wipe any excess off quickly.
-
4.
-
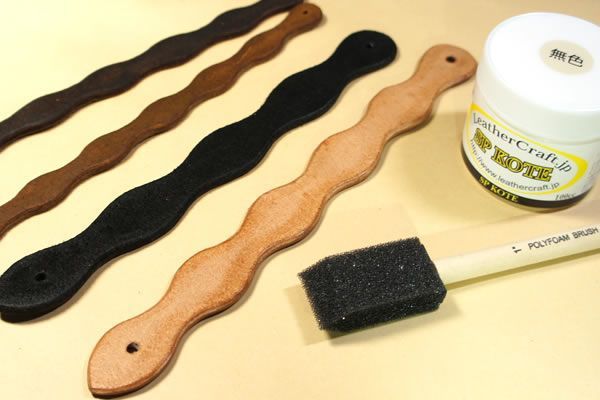
Apply the edge top coat. When you apply some edge coat on the tool called a foam applicator which has a form on its tip, you can control the coating amount by the degree of pressure and your work can progress. Be careful that the edge coat does not protrude to the flesh side.
-
5.
-
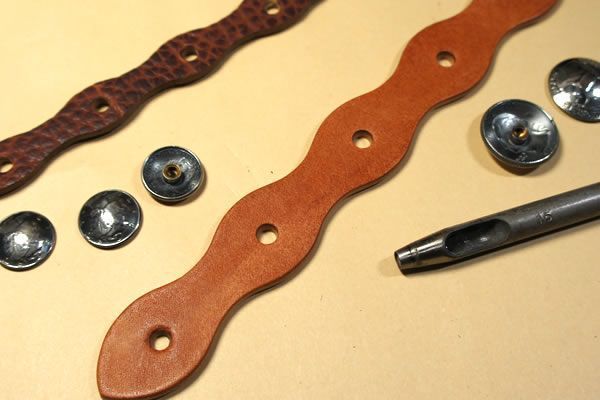
Punch holes for conchos with a hole punch. Measure the diameter of the female screw and make holes it can go through. Placing the conchos precisely where you want them and pressing them down on the leather to make traces would be good.
-
6.
-
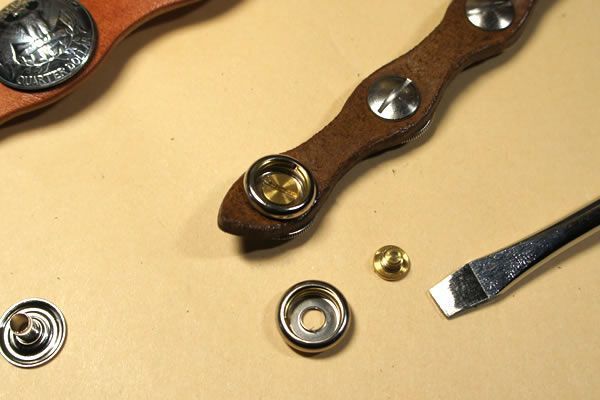
Attach the conchos firmly using a screw driver. Put the female screw through the hole in the leather and tighten a rather short screw firmly. Then the leather would enter the conchos.
Please tighten strongly so that the leather would bend along the curve of the conchos.
-
7.
-
Combine the conchos and snaps to make concho snaps. Here again put the female screw tightly through the hole on the leather, and tighten strongly so that the leather would bend along the curve of the conchos.
-
8.
-
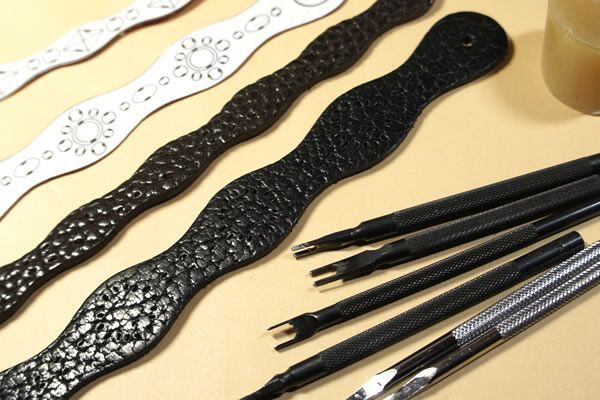
Now attach spots. Think about the design and decide the points where the claws go through. If you make patterns using stiffener, you can make holes at the exact places. Therefore, in order to attach spots nicely, you need to make patterns with precision. Using patterns, mark (trace) the points of holes, and make holes on the leather. If you stick tools in the wax you use for sewing before tooling, you can do insertion and removal of your tool smoothly when making holes.
-
9.
-
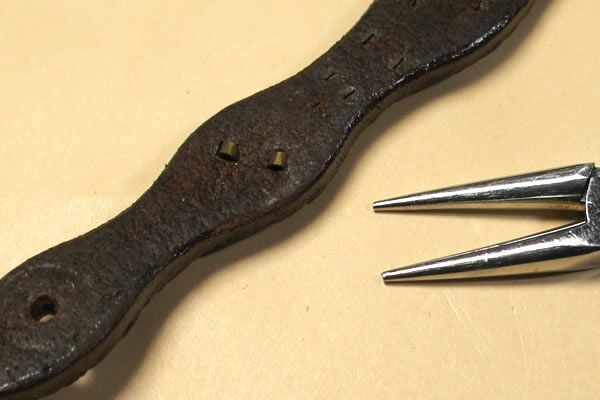
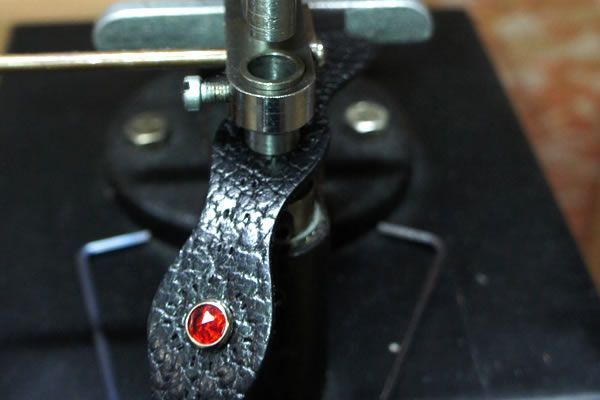
Make claws go through the holes, and attach the spots on the leather. Bend the claws around the leather using a tool such as a pair of pliers. Don't fold the claws, rather, bend and stick them into the leather. That way they don't come off easily and don't get caught on your clothes or such. To attach the spots tightly on the leather, after bending the claws by pulling them with pliers as strongly as possible, press them down by hitting lightly with a hammer.
-
10.
-
Be careful not to crush or scratch the head of the spots. Working on something like a piece of the thick leather would help.
-
11.
-
If you use a tool called spot setters, Step 11 will be quicker and nicer. Especially when dealing with a lot of spots, that'll be very convenient.
-
12.
-
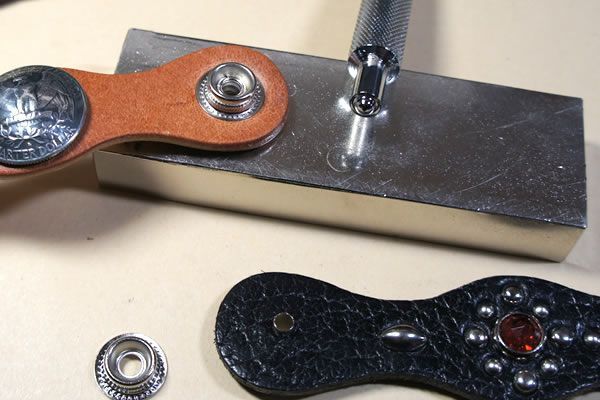
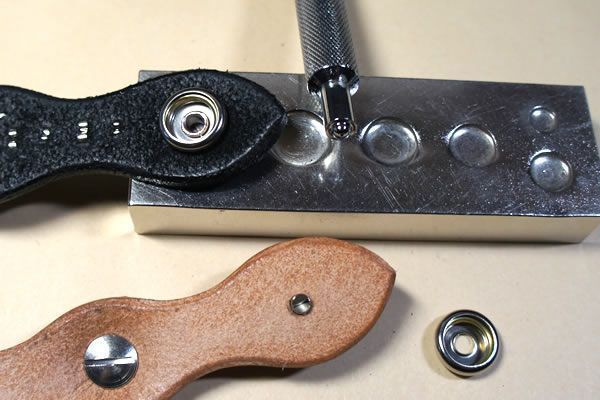
Set the male part of the snap. Then attach the snap with a snap setter. Work on a snap attaching surface.
-
13.
-
Set the female part of the snap, and attach it with a snap setter. Using an almighty attaching surface would be very helpful.
Sign in to post a comment!




Show more