Keychain Kit with Double Cap Rivet
Posted by LeatherCraftTools.com (Oct 19, 2022)
-
1.
-
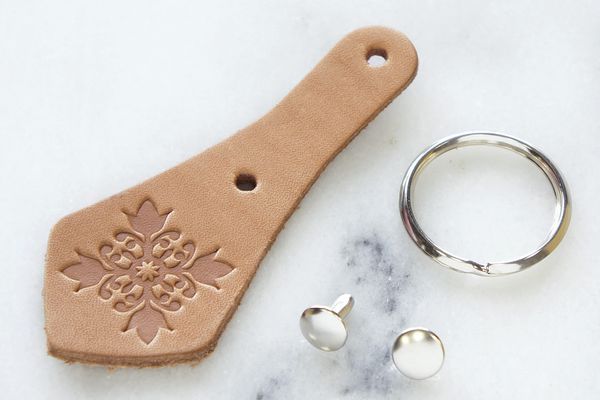
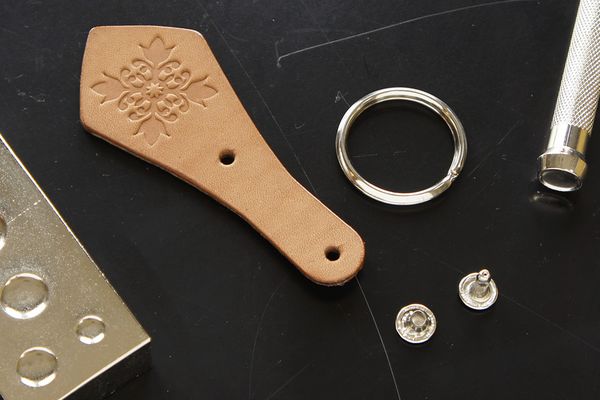
Prepare the leather part cut out the shape you want and metal fittings.
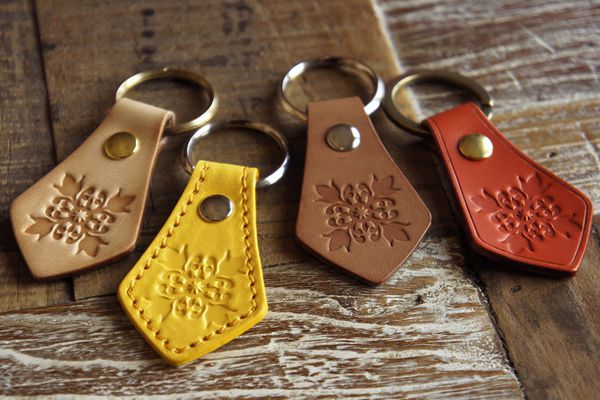
In this page, we will use LeatherCraftTools.com's kit product "Leather Keychain Kit <Hawaiian Pattern>".
For the metal fittings, a Double Split Key Ring 25 mm and one set of Long Double Cap Rivets 9 mm are ready for this kit
The leather in the kit has a hole with a diameter of about 3.0 mm for inserting the Rivet.
If you don't use the kit, please make a hole with a Round Hole Punch by your own.
-
3.
-
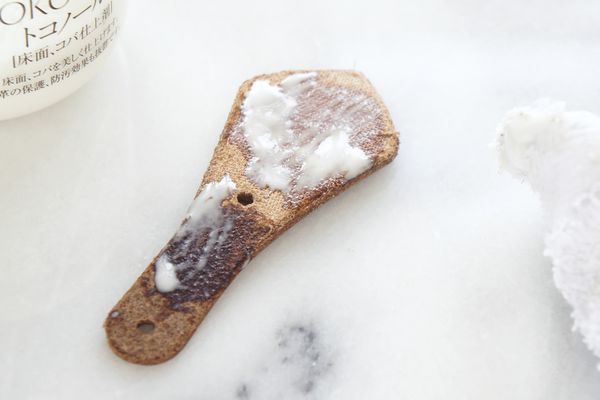
Using Burnishing Gum such as Tokonole or TOKO PRO,
smoothing the back side of the leather and edges.
-
4.
-
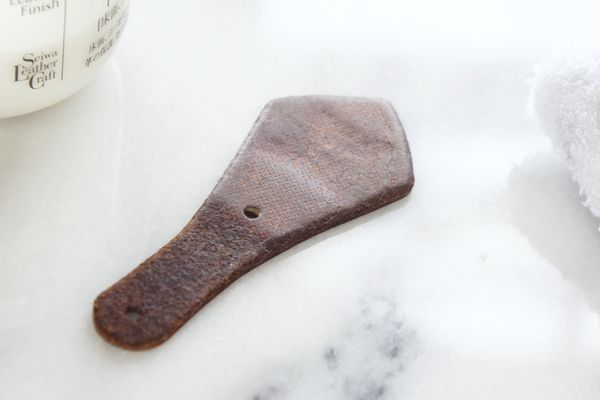
Applying an appropriate amount with a towel or something, evenly rub it into the leather.
When it is becoming a little dry, polish it with the dry part of the towel.
It is more effective to use an Edge Slicker or like that.
-
5.
-
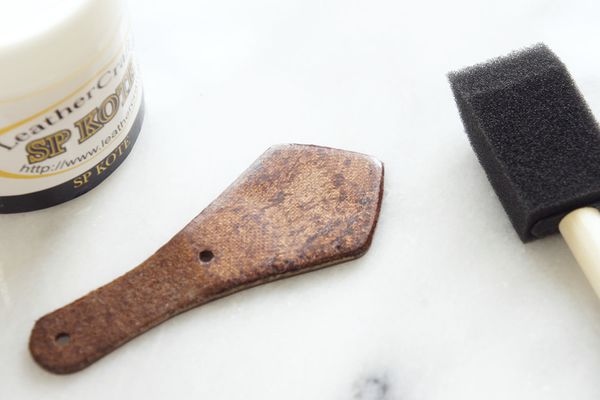
Apply an Edge Coat such as LC SP Edge Kote only to the edge surface.
A tool such as a Foam Brush is useful to apply it.
This protects and increases durability of the edge.
After the Edge Coat is completely dry, you can get a brilliant edge by using an Edge Slicker or something.
-
6.
-
Prepare the tools to fasten the Rivets.
Here, we use Rivet Setter 9 mm, Multi Size Snap & Rivet Anvil, and Rawhide Mallet.
-
8.
-
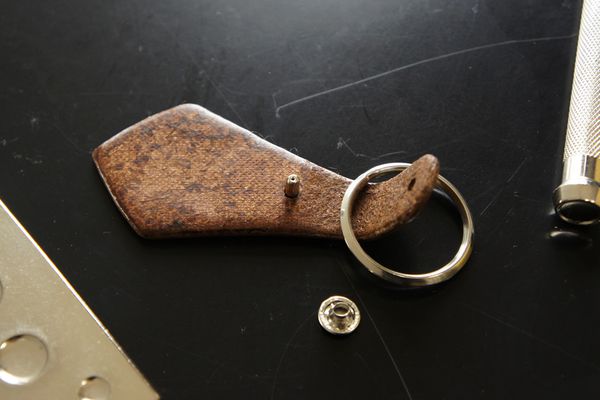
After inserting the Double Cap Rivets into the hole, press lightly with your fingers to temporarily fix them.
Set it on the hole of the Multi Size Snap & Rivet Anvil, that should be matched the size of Double Cap Rivets.
-
9.
-
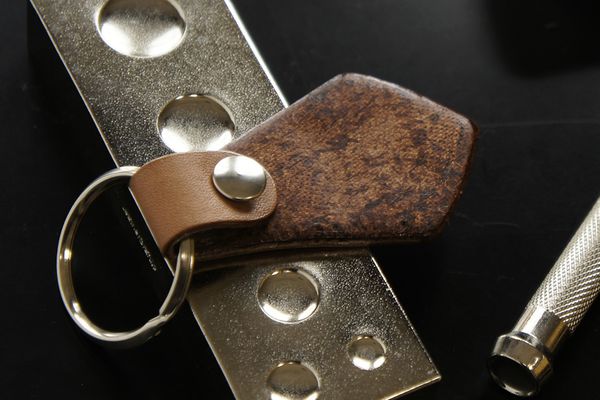
Using the Rivet Setter applied vertically, hit it in with the Mallet little by little to fix the Rivet.
Sign in to post a comment!



Show more